How to Use Heatless Curling Methods Overnight: A Beginner's Guide
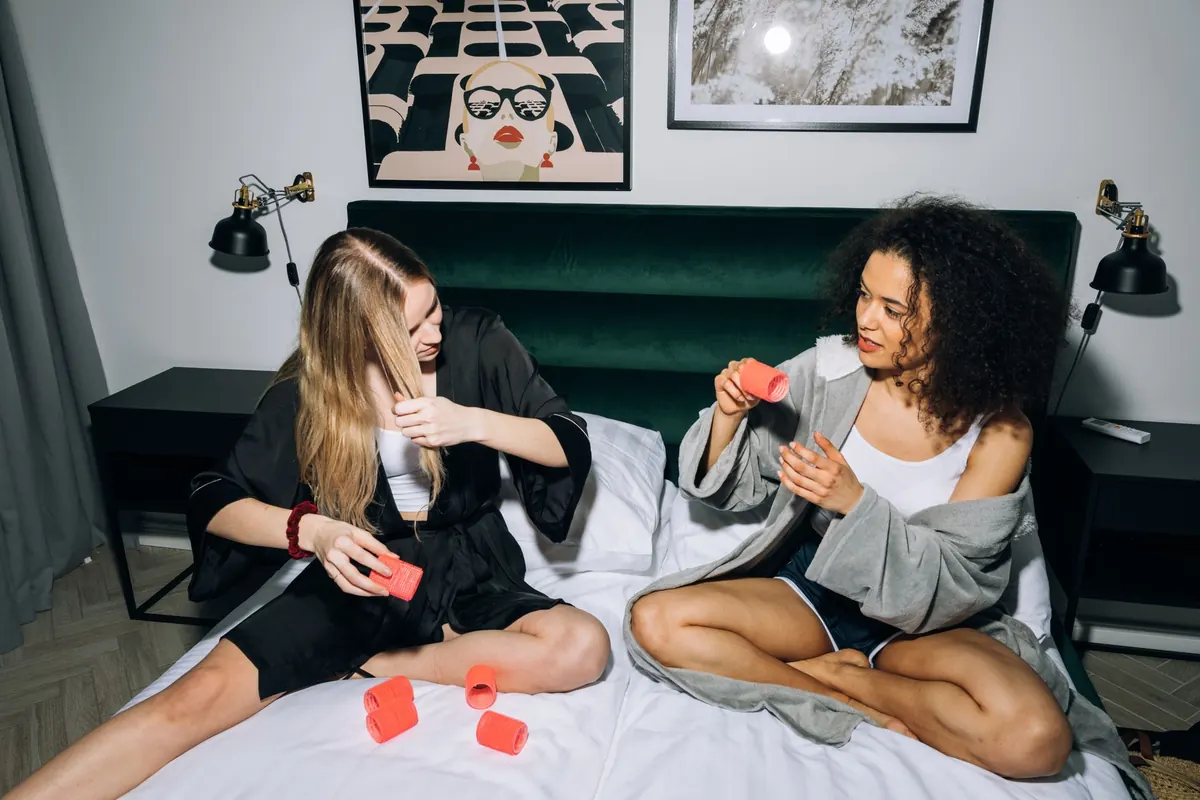
Set your hair, go to sleep, wake up with curls. That is the whole promise of heatless styling, and most nights it delivers — as long as you wrap with a little more intention than you'd give a ponytail. The learning curve is short. The payoff is hair that keeps its shape without the crunch of a hot barrel, and a routine you can run while you're watching television.
Hair holds shape because of bonds inside the strand that shift when hair is wet and reset as it dries. A curling iron forces that change with heat. Overnight styling does the same job slowly: damp hair is wrapped around something, it dries in that position, and the curl stays because the hair dried there rather than because it was scorched into place.
The result feels different. Heat-set curls tend to be crisp and uniform. Overnight curls are softer, a bit irregular, and they look better the second day. You also skip the singed-hair smell and the creeping dryness that comes from regular high-heat styling. The trade-off is planning: you need damp hair, sensible tension, and a night that doesn't wreck the set.
Start with hair that is damp, not dripping. Wash it earlier in the evening if you can, and let it air-dry to roughly 70 percent before you wrap. Soaking-wet hair won't dry by morning; bone-dry hair won't take the shape at all.
Detangle completely with a wide-tooth comb before you start, then work in a light product. A pea-sized amount of leave-in conditioner or curl cream adds softness. If your hair is fine or slippery, a little mousse or texturising spray gives the wrap something to grip. Keep heavy oils away from the roots — they slow drying and flatten the top.
Sectioning is the step beginners skip and later regret. Clip the hair into four to six sections, starting at the nape and working upward. Smaller sections mean tighter, more defined curls; larger sections mean loose waves.
A quick note on tension: if a wrap pulls at your scalp or feels tight enough to leave a mark, it's too tight. Constant tension in the same spots can thin the hairline over time. If you're seeing breakage, soreness, or unusual shedding, loosen up and check in with a stylist or dermatologist before continuing.
Braid damp hair loosely and secure the end with a soft scrunchie or fabric tie rather than a tight elastic. One braid gives you soft bends; two braids give you beachy waves with a centre part; six to eight small braids give you a tighter, crimped curl. For very curly or coily hair, try banding — sectioned plaits with soft elastics spaced down the length — to stretch and define without heat.
A soft satin headband or a long fabric strip works like a curler you sleep on. Drape sections over the band, wrapping from the ends upward, then tie the ends of the band to secure everything on top of your head. It's gentle, fast once you've practised twice, and the best option for long hair that tends to tangle in rods.
Use flexible foam rods, not the hard plastic kind that dig into your scalp. Take a section roughly one to two inches wide, wrap the ends around the rod, and roll upward toward the scalp, then bend the ends of the rod to lock it. Place eight to twelve rods on medium-length hair and angle them so you're not lying directly on any single one.
Unwrap slowly and let each curl fall on its own. Do not brush. Brushing is the single fastest way to turn a good set into a head of frizz. Instead, separate curls with your fingers, working from the ends up, and shake gently at the roots for volume.
Finish with a drop of lightweight serum or oil on the ends, then a light mist of hairspray or a salt-and-water spray if you need hold. If one section came out kinked, dampen it, rewrap it for ten minutes while you get ready, and it will relax into the rest of the pattern.
Fine, straight hair takes shape quickly but drops fast — use mousse, smaller sections, and foam rods rather than braids. Thick or coarse hair needs longer drying time, so start it damper and wrap it a little earlier in the evening. If your hair is already curly, the goal shifts from creating curl to defining it, and braids or banding will do more for you than rods. Short hair suits small braids and rods near the front; the band method is harder to anchor on a bob.
Hair that has been chemically relaxed or straightened may resist all of this. Give it a firmer product and a fully dry set, and accept that some textures simply spring back faster than others.
Two nights a week is plenty for most people. Build a small kit — a comb, a spray bottle, a few rods, two soft ties, and a satin scarf — and keep it in one place so setup takes five minutes instead of twenty. Wrap slightly damper than you think you need at first, then adjust. Within a week or two you'll know exactly how your hair behaves overnight, and you can put the curling iron away for good.
Photo: KoolShooters / Pexels
Previous Post
Common Skincare Mistakes That Cause Breakouts (and How to Fix Them)
Next Post
How to Make Perfume Last Longer: 7 Layering and Application Tips